
 Search


A little package for the Easter!! So with the mighty Airtel trick back and blazing in its full glory, i have managed to make it work on Android. The Steps are:
1. Create new Data settings with APN: airtelwap
2. Download Droidvpn.apk from google playstore
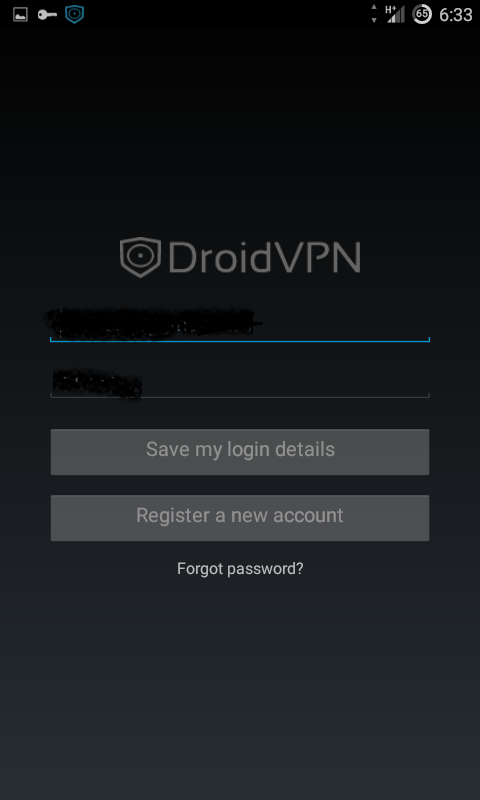
3. Launch Droidvpn app
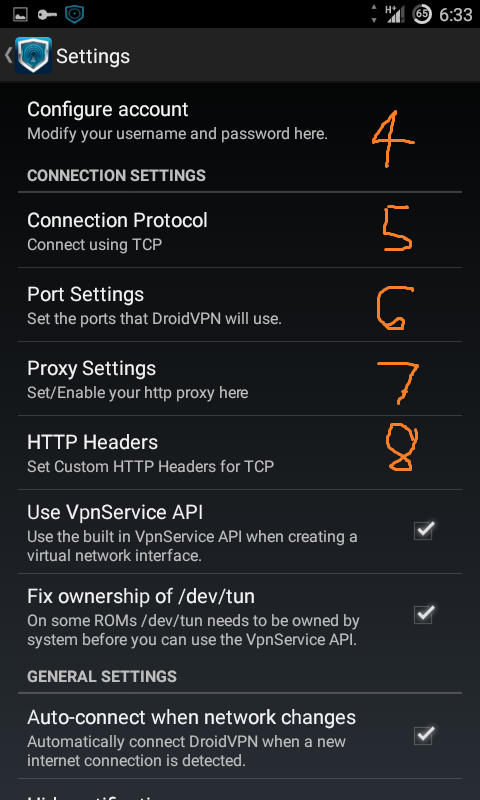
3. Open Droidvpn Settings after launch
4. Configure account: fill username and password if
already registered or create new account
5. Under connection settings:
Connection Protocol: TCP
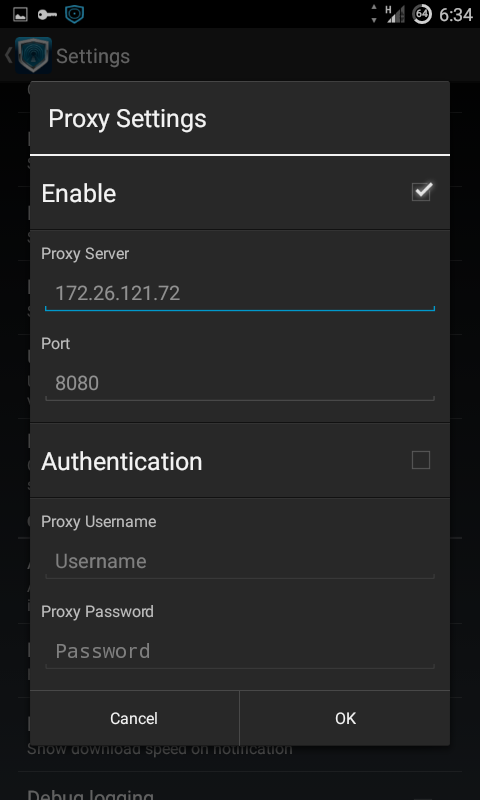
6. Port Settings: 8080
7. Proxy Settings: 172.26.121.72
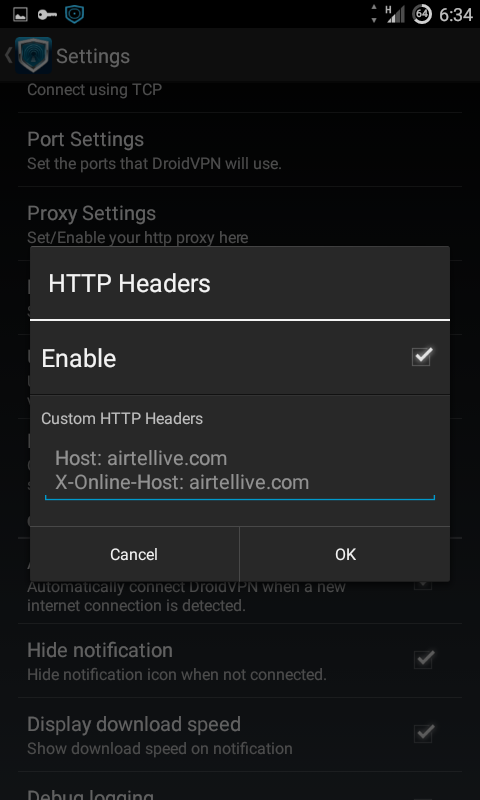
8. Http Headers: Host: airtellive.com
X-Online-Host: airtellive.com
9. Close settings and select any Free Server
10. Hit Connect Button.....Voilla!
The following are images of the above steps:

1. Create new Data settings with APN: airtelwap
2. Download Droidvpn.apk from google playstore
3. Launch Droidvpn app
3. Open Droidvpn Settings after launch
4. Configure account: fill username and password if
already registered or create new account
5. Under connection settings:
Connection Protocol: TCP
6. Port Settings: 8080
7. Proxy Settings: 172.26.121.72
8. Http Headers: Host: airtellive.com
X-Online-Host: airtellive.com
9. Close settings and select any Free Server
10. Hit Connect Button.....Voilla!
The following are images of the above steps:
